While using Spring Cloud Config Server, we also have the feature to encrypt sensitive information that is otherwise stored as plain text in our external git repository. This prevents anyone who has read access to the external repository from accessing confidential information and is highly highly recommended if you are using a Spring Cloud Config Server. Note: If you haven’t set up Spring Cloud Config Server yet check out my other article on how to set up a spring cloud config server.
There are 2 types of encryption provided
- Symmetric - Quicker to setup and easier to use. Uses a unique alphanumeric set of characters to both encrypt and decrypt the properties.
- Asymmetric - Higher security and harder to set up. It requires you to use java command line utility called keytool which creates a key store file (containing private and public keys). Encryption is done with the public key and the private key is used to decrypt the data.
Pre-requisite - JCE
If you use OpenJDK11 you can skip this step as JCE comes along with it. If you are on Java 8, Go ahead and download JCE which we will need to encrypt data : https://www.oracle.com/in/java/technologies/javase-jce8-downloads.html This includes 2 jars, which need to be added to our runtime environment : local_policy.jar and US_export_policy.jar You can read the README and proceed with install JCE. All you basically need to do is navigate to your JDK installation path and place these 2 jars under lib/security. Once done, make sure you close all java apps and reopen them. If you still see errors while performing the below steps, try and restart your machine once.
1) Using Symmetric Encryption
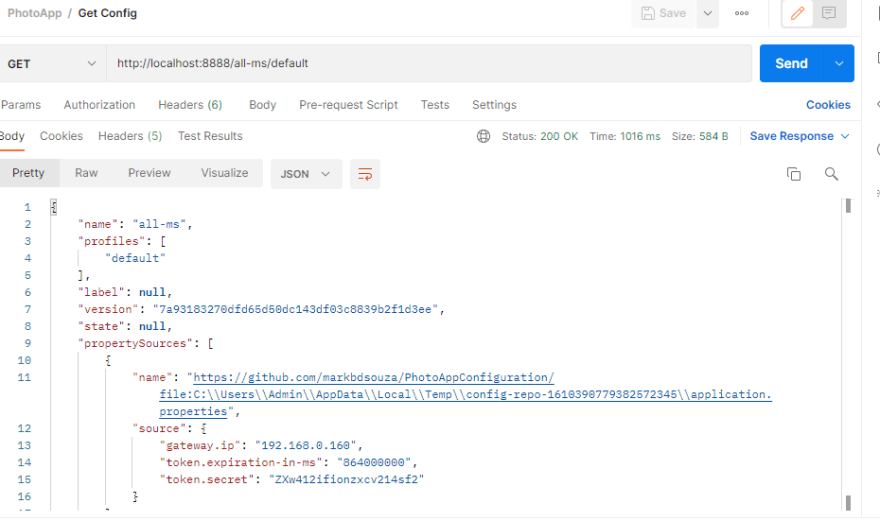
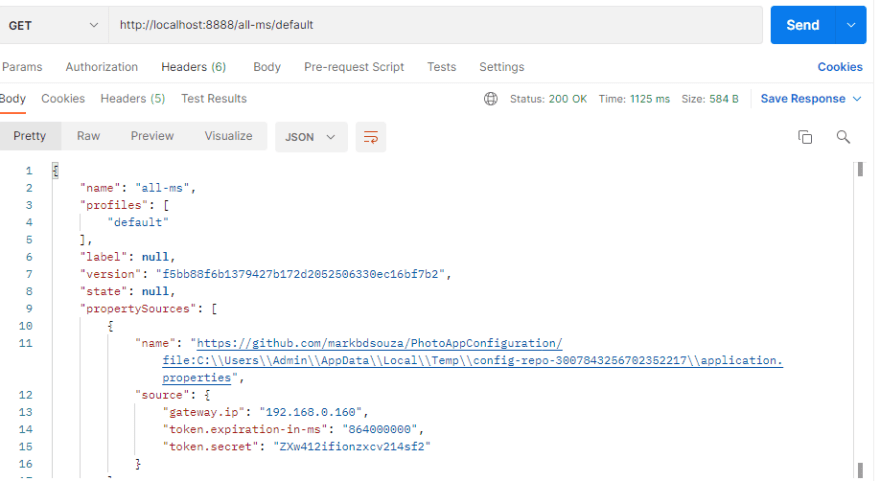
I have set up my config server, so I can do a GET request to : http://localhost:8888/all-ms/default
where all-ms is an micro service name and default is the spring profile to get the configured values in my external git repository
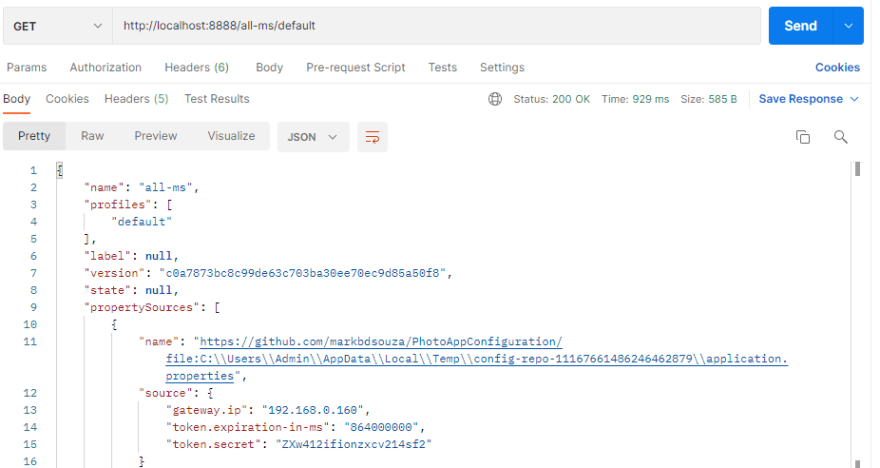 ]
]
1.1) Enable Asymmetric Encryption
To enable encryption all you need to do is add a property to application.properties of your config server.
|
|
Your key can be any long random alphanumeric string.
1.2) End points for encryption/decryption
Now let us encrypt your data first. Launch your config server spring boot application and send a HTTP POST request to your server with endpoint /encrypt and in the body send the data that needs to be encrypted. localhost:8888/encrypt The response will contain the encrypted value in the body.

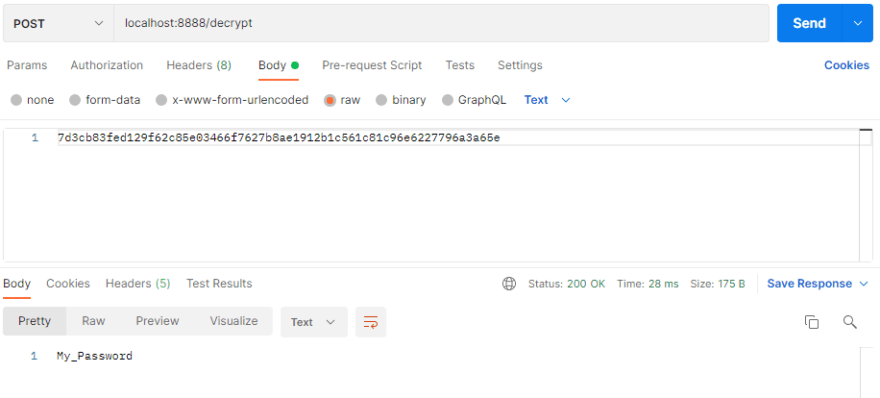
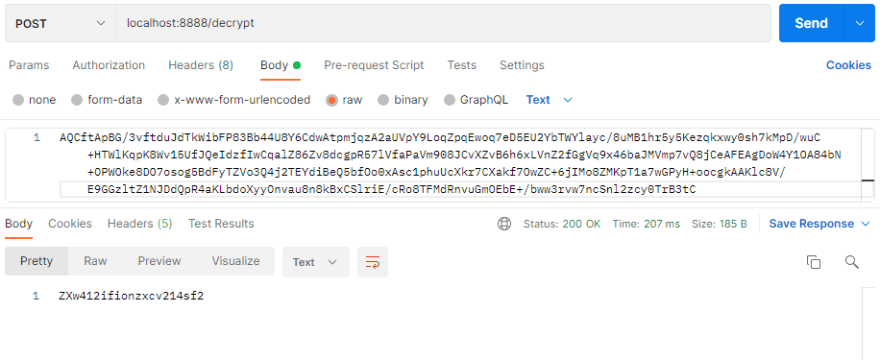
You can also check the decrpytion by sending a HTTP post request to localhost:8888/decrypt , this time the body should have the encrypted value.
To use this encryption in your application, check the secret data that you have in your remote git repository. This could be a data base password/a token. e.g. spring.datasource.password=DatabasePassword I will use the above endpoint to encrypt this.

1.3) Configure your repository
Now in my external properties file, I will replace
|
|
with
|
|
Note the prefix of {cipher} which tells your server that decryption needs to be done for this particular property. In my repo, I am using a JWT token. I encrypted the token and set the value in my repo to
|
|
1.4) Test it out
When I test out my config by accessing my properties, it automatically decrypts my token given the encryption key in the config server even though in my external repository I have stored the encrypted value.
2) Asymmetric Encryption
Firstly we need to generate a keystore file which contains the 2 keys. The public key is used to encrypt information and the private key is used to decrypt information.
2.1 Creating the key store file
In your command prompt, type out
|
|
Here a1b2c3d4 is the password and myApiTutorialKey.jks is the file created. If you can’t find keytool on executing, go to the bin folder of your JDK and you should see it there. If you are on windows, make sure you run command prompt in admin mode if you face any issues. Please check online for more details on configuring this https://docs.oracle.com/cd/E19683-01/806-4078/6jd6cjru7/index.html This will create a myApiTutorialKey.jks with the password a1b2c3d4.
2.2 Add the file to your project
I now place this file in my resources folder to easily access this file in my spring boot application.
 ]
]
2.3 Enable Asymmetric Encryption
Now for the configuration in application.properties of your spring cloud config server add the below properties.
Make sure you use the same password and alias you have given when creating the keystore file.
2.4 End points for encryption/decryption
Launch your app and similar to the symmetric way of doing things, you can send a POST request to localhost:8888/encrypt with the body being the value you want to encrypt.

Similarly we can decrypt using the decrypt endpoint.
2.5 Configure your repository
To encrypt data in our remote git repository, add {cipher} as a prefix for the property so that the server knows that it needs to be decrypted when being fetched.
 ]
]
2.6 Test it out
When I test out my config by accessing my properties, it automatically decrypts my property with the key store file.
And that’s about it. It honestly is a very short process to encrpyt your data and I hope this tutorial helped you on your spring cloud journey!
Reference https://dev.to/markbdsouza/spring-cloud-config-server-encryption-and-decryption-2ejc