This article tries out the keycloak counterpart of the Spring Boot Adapter to see how keycloak protects Spring Boot applications.
Client
I believe many of you have used WeChat Open Platform and Ant Open Platform. First we need to register a client on these open platforms to get a set of credentials like username and password. Some of them are called appid and secret; some are called clientid and secret, both mean the same thing. In fact, keycloak is similar, and requires a client to be registered in the corresponding realm. The following diagram not only clearly illustrates the relationship between Master realm and custom realm in keycloak, but also the relationship between users and clients in a realm.
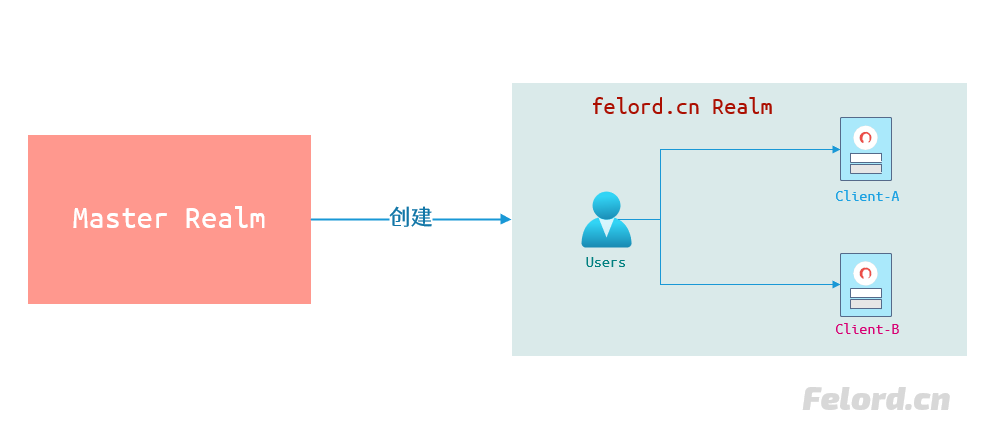
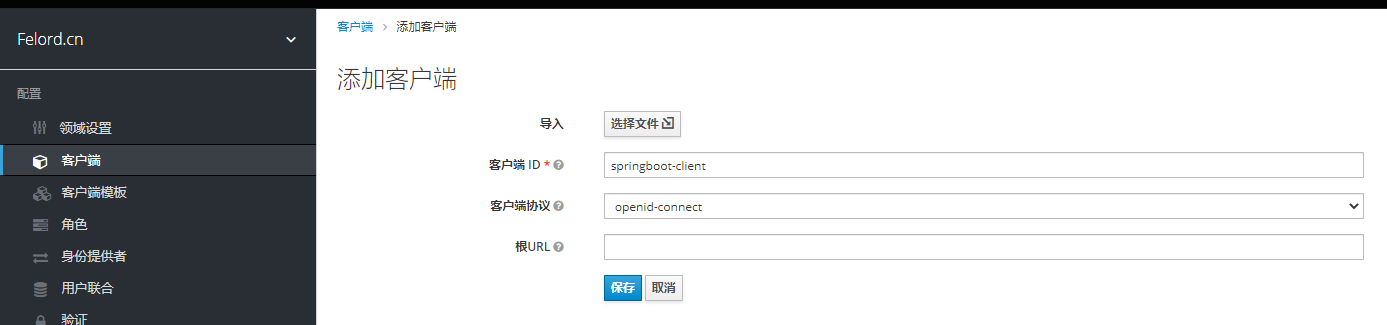
We need to create a client in the realm of felord.cn.
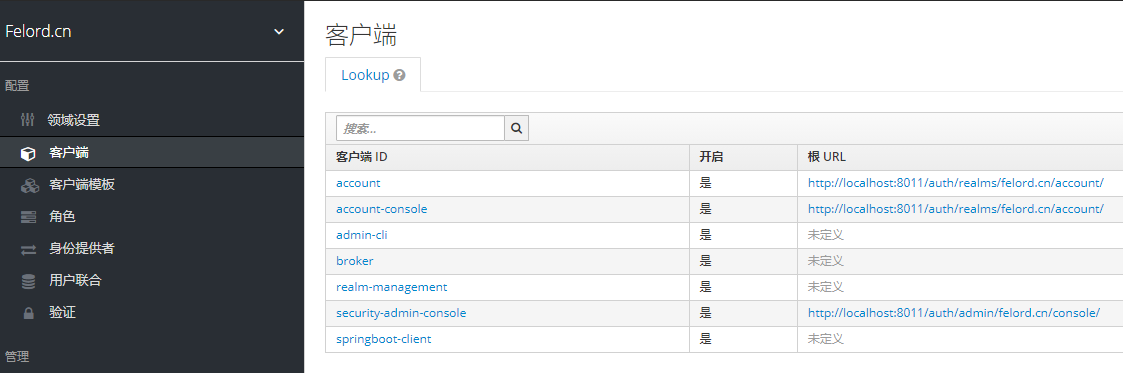
Once created, you will see that the client of felord.cn has an additional.
You can login to the created user via
http://localhost:8011/auth/realms/felord.cn/account/.
Then we edit the configuration of the client spring-boot-client.
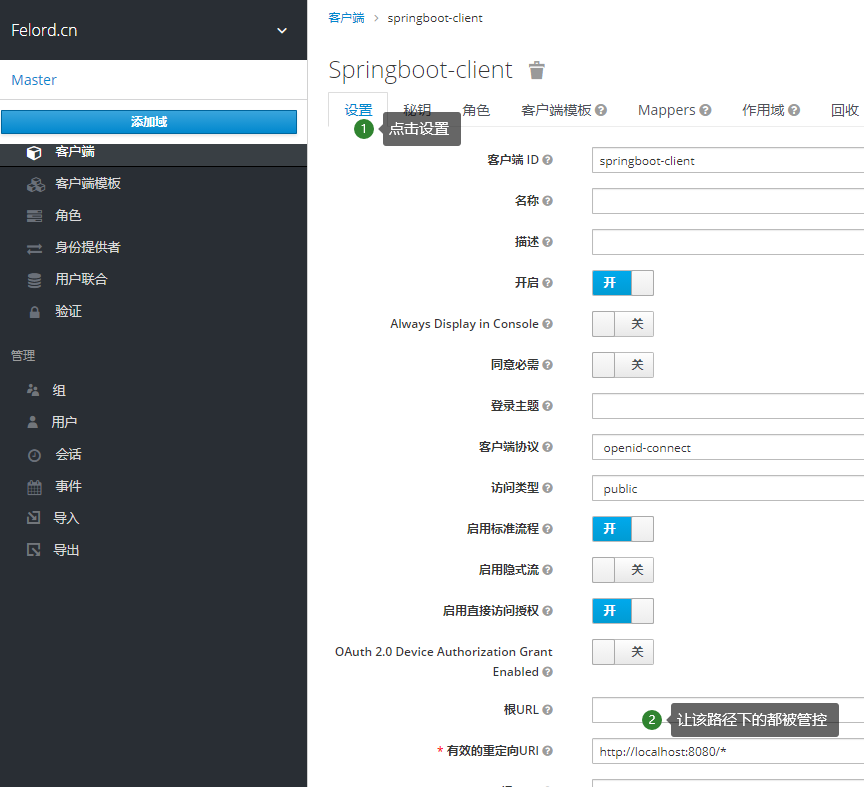
For testing purposes, here I just filled in the only required field in the settings tab Valid redirect URI, which means that all APIs of the client springboot-client are subject to permission control.
Roles
Role-based permission control is the current dominant idea of permission control, and keycloak takes this approach. We need to create a role and grant the user felord created in the previous article. Let’s create a simple role.
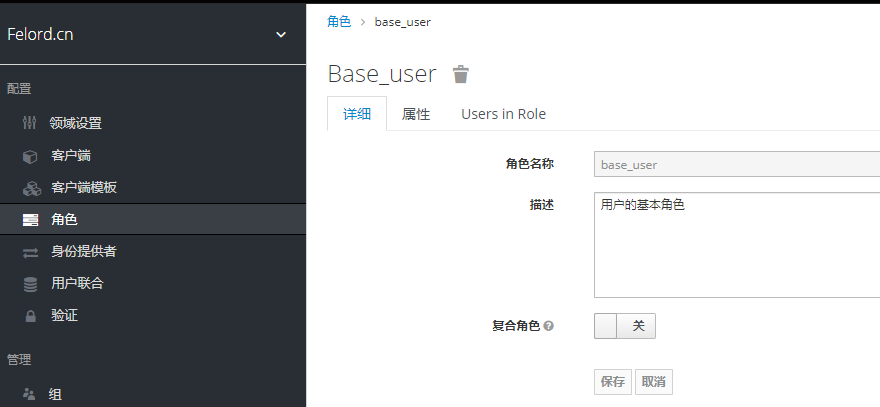
The role functionality of keycloak is very powerful, and we will learn this concept in depth with you in a later article in the series.
Mapping roles to users
Then we take the role base_user created above and assign it to the user felord :
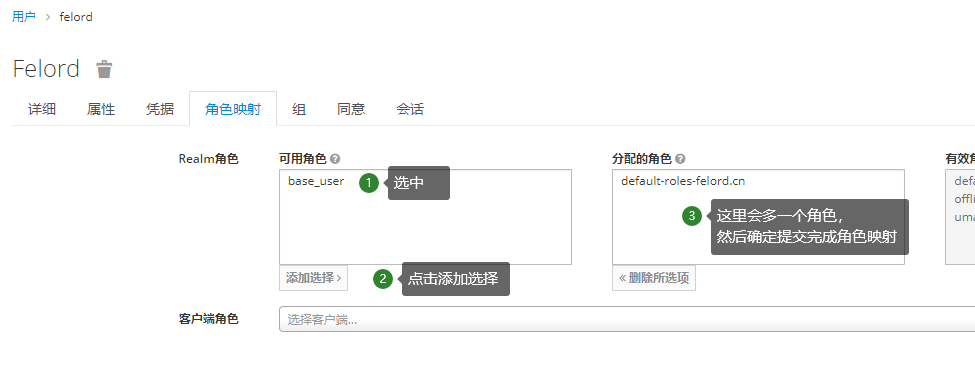
With the user, role, and role mapping all taken care of here, it’s left to define the resources on the client.
Getting and refreshing JWTs
We can get the JWT of the user login in the following way. execute the request:
will get a response:
|
|
Refresh Token just need to bring refresh_token, change grant_type to refresh_token then you can refresh Token pair, below is the request refresh message.
|
|
Note: The
content-typeof both requests isapplication/x-www-form-urlencoded.
Spring Boot Client
Build a very traditional Spring Boot application, don’t forget to bring the Spring MVC module, and add the starter for keycloak.
Then write a random Spring MVC interface.
Next, we declare that we define that only users with the base_user role in felord.cn realm can access the /foo/bar interface. So where is the definition? We start with a static definition in application.yml in spring boot, and we will implement dynamic control later. The configuration is as follows.
|
|
Then start the Spring Boot application and call http://localhost:8080/foo/bar in the browser and you will see that the browser will jump to the following address.
|
|
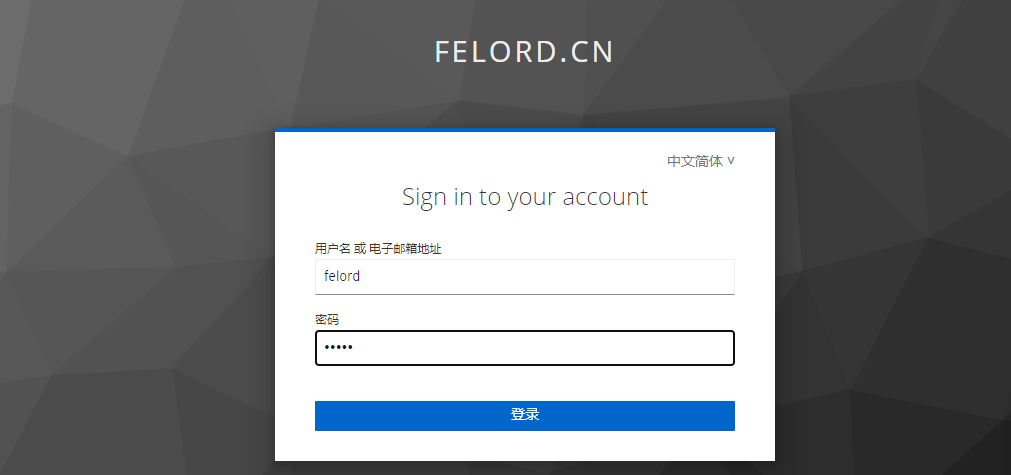
The authentication authorization model is based on OIDC (an enhanced version of OAuth 2.0). Only if you fill in the username and password correctly can you get the correct response from /foo/bar.
Summary
It was so easy to implement OIDC authentication authorization to protect the interface in Spring Boot with just a few configurations. But after reading this article you will have a lot of questions because you don’t know much about the OIDC protocol. This protocol is very important and is used by big manufacturers. I will explain it in a future article.
Reference
https://felord.cn/keycloak-2.html