The open source WildFly Application Server (WildFly AS) is an upstream project of the commercial JBoss EAP (Enterprise Application Server). This means that JBoss EAP is based on WildFly AS, and you will probably know how to deploy to JBoss EAP once you learn how to deploy applications to WildFly AS.
In today’s article, I’m going to introduce how to deploy a Spring Boot application to the WildFly application server.

Start WildFly Application Server
This article will use the latest stable version of WildFly 26.1.2 Final as an example.
-
Go to WildFly Downloads to download the latest stable version and unzip
Suppose we extract
wildfly-26.1.2.Final.zipto theG:\wildfly-26.1.2.Finaldirectory. -
Open the Command Prompt window and go to the decompressed folder
1cd /d G:\wildfly-26.1.2.Final -
Create administrator account
1bin\add-user.batSuppose we set the account as
wildflyand the password aswi1df1y!.1 2 3 4 5 6 7 8 9 10 11 12 13 14 15 16 17 18 19 20 21 22 23 24 25What type of user do you wish to add? a) Management User (mgmt-users.properties) b) Application User (application-users.properties) (a): a Enter the details of the new user to add. Using realm 'ManagementRealm' as discovered from the existing property files. Username : wildfly Password recommendations are listed below. To modify these restrictions edit the add-user.properties configuration file. - The password should be different from the username - The password should not be one of the following restricted values {root, admin, administrator} - The password should contain at least 8 characters, 1 alphabetic character(s), 1 digit(s), 1 non-alphanumeric symbol(s) Password : wi1df1y! Re-enter Password : wi1df1y! What groups do you want this user to belong to? (Please enter a comma separated list, or leave blank for none)[ ]: About to add user 'wildfly' for realm 'ManagementRealm' Is this correct yes/no? yes Added user 'wildfly' to file 'G:\wildfly-26.1.2.Final\standalone\configuration\mgmt-users.properties' Added user 'wildfly' to file 'G:\wildfly-26.1.2.Final\domain\configuration\mgmt-users.properties' Added user 'wildfly' with groups to file 'G:\wildfly-26.1.2.Final\standalone\configuration\mgmt-groups.properties' Added user 'wildfly' with groups to file 'G:\wildfly-26.1.2.Final\domain\configuration\mgmt-groups.properties' Is this new user going to be used for one AS process to connect to another AS process? e.g. for a slave host controller connecting to the master or for a Remoting connection for server to server Jakarta Enterprise Beans calls. yes/no? no Press any key to continue . . . -
Start WildFly AS in
standalonemode1bin\standalone.bat --debugAdding
--debugwill additionally LISTEN Port8787to allow IDE tools to debug the application via Attach. -
Open
WildFly ASdefault home page:http://127.0.0.1:8080/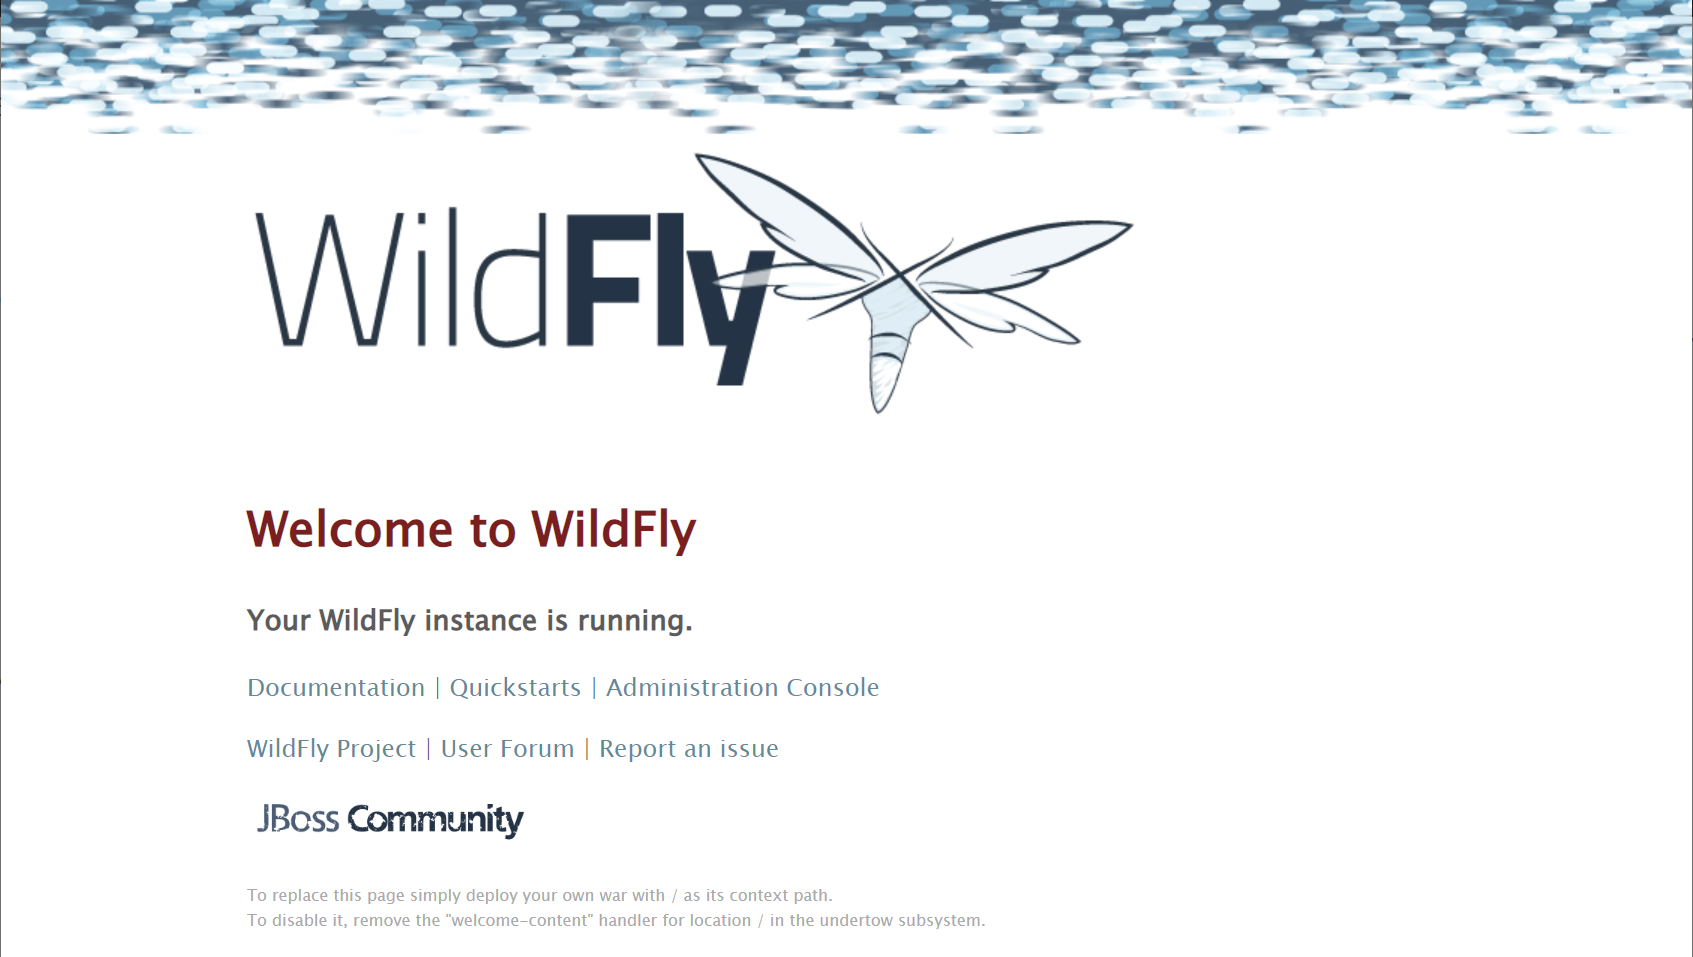
-
Open
WildFly ASconsole:http://127.0.0.1:9990/(Account:wildfly, Password:wi1df1y!)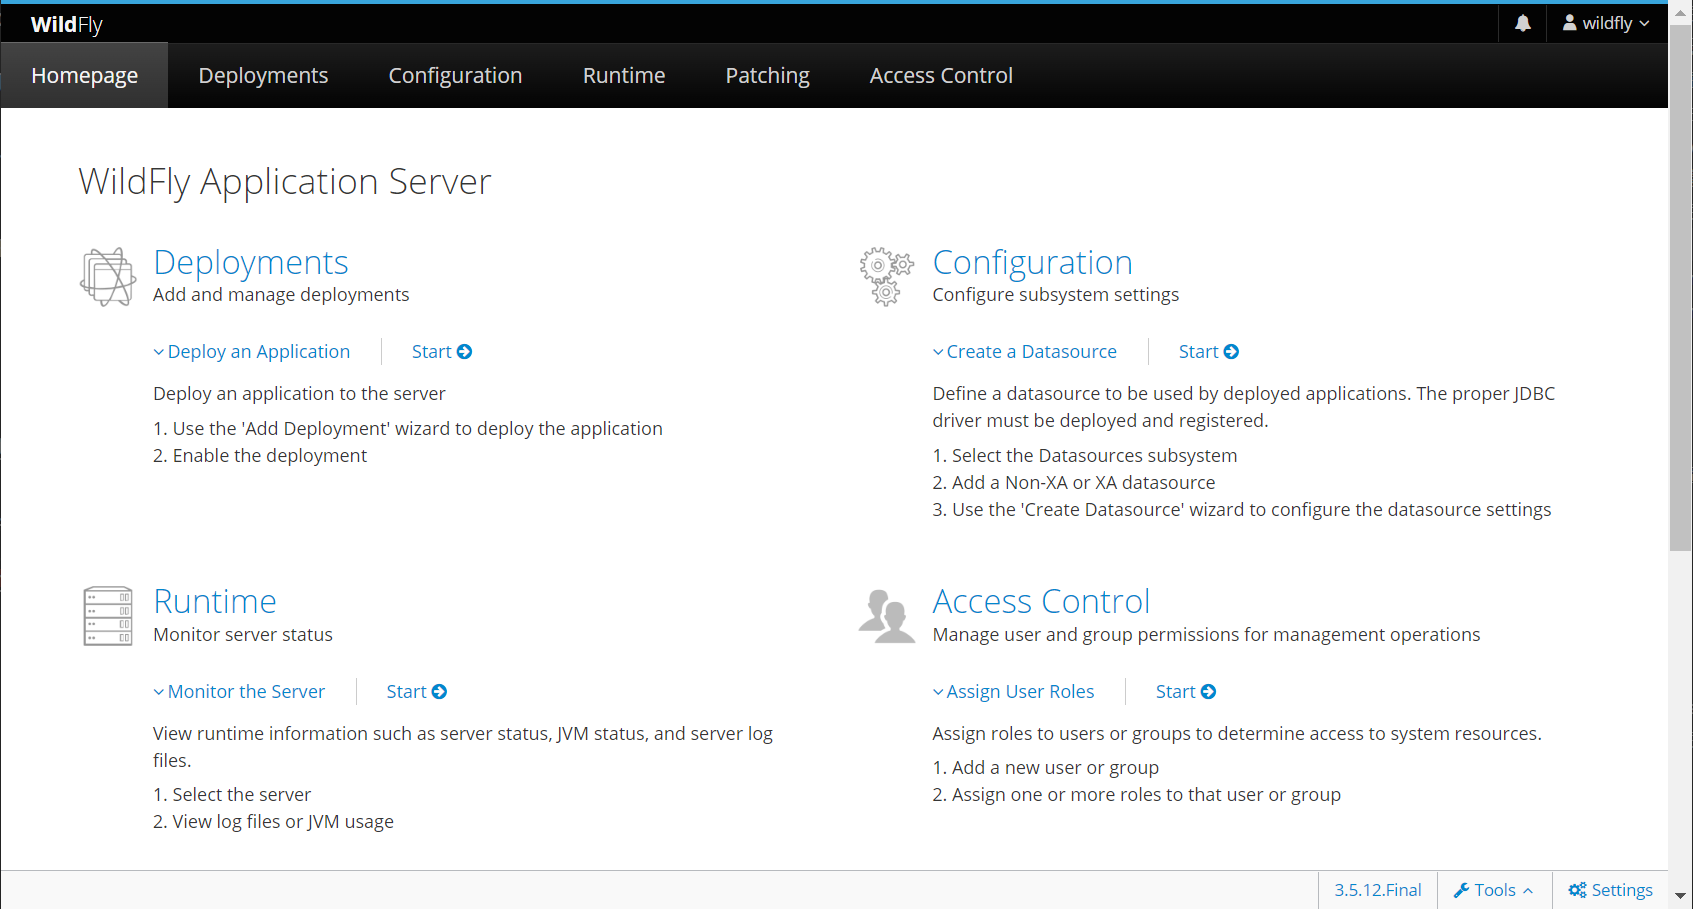
Quickly create a new project using Spring Boot Initializr
-
Please use the following parameters to create your project
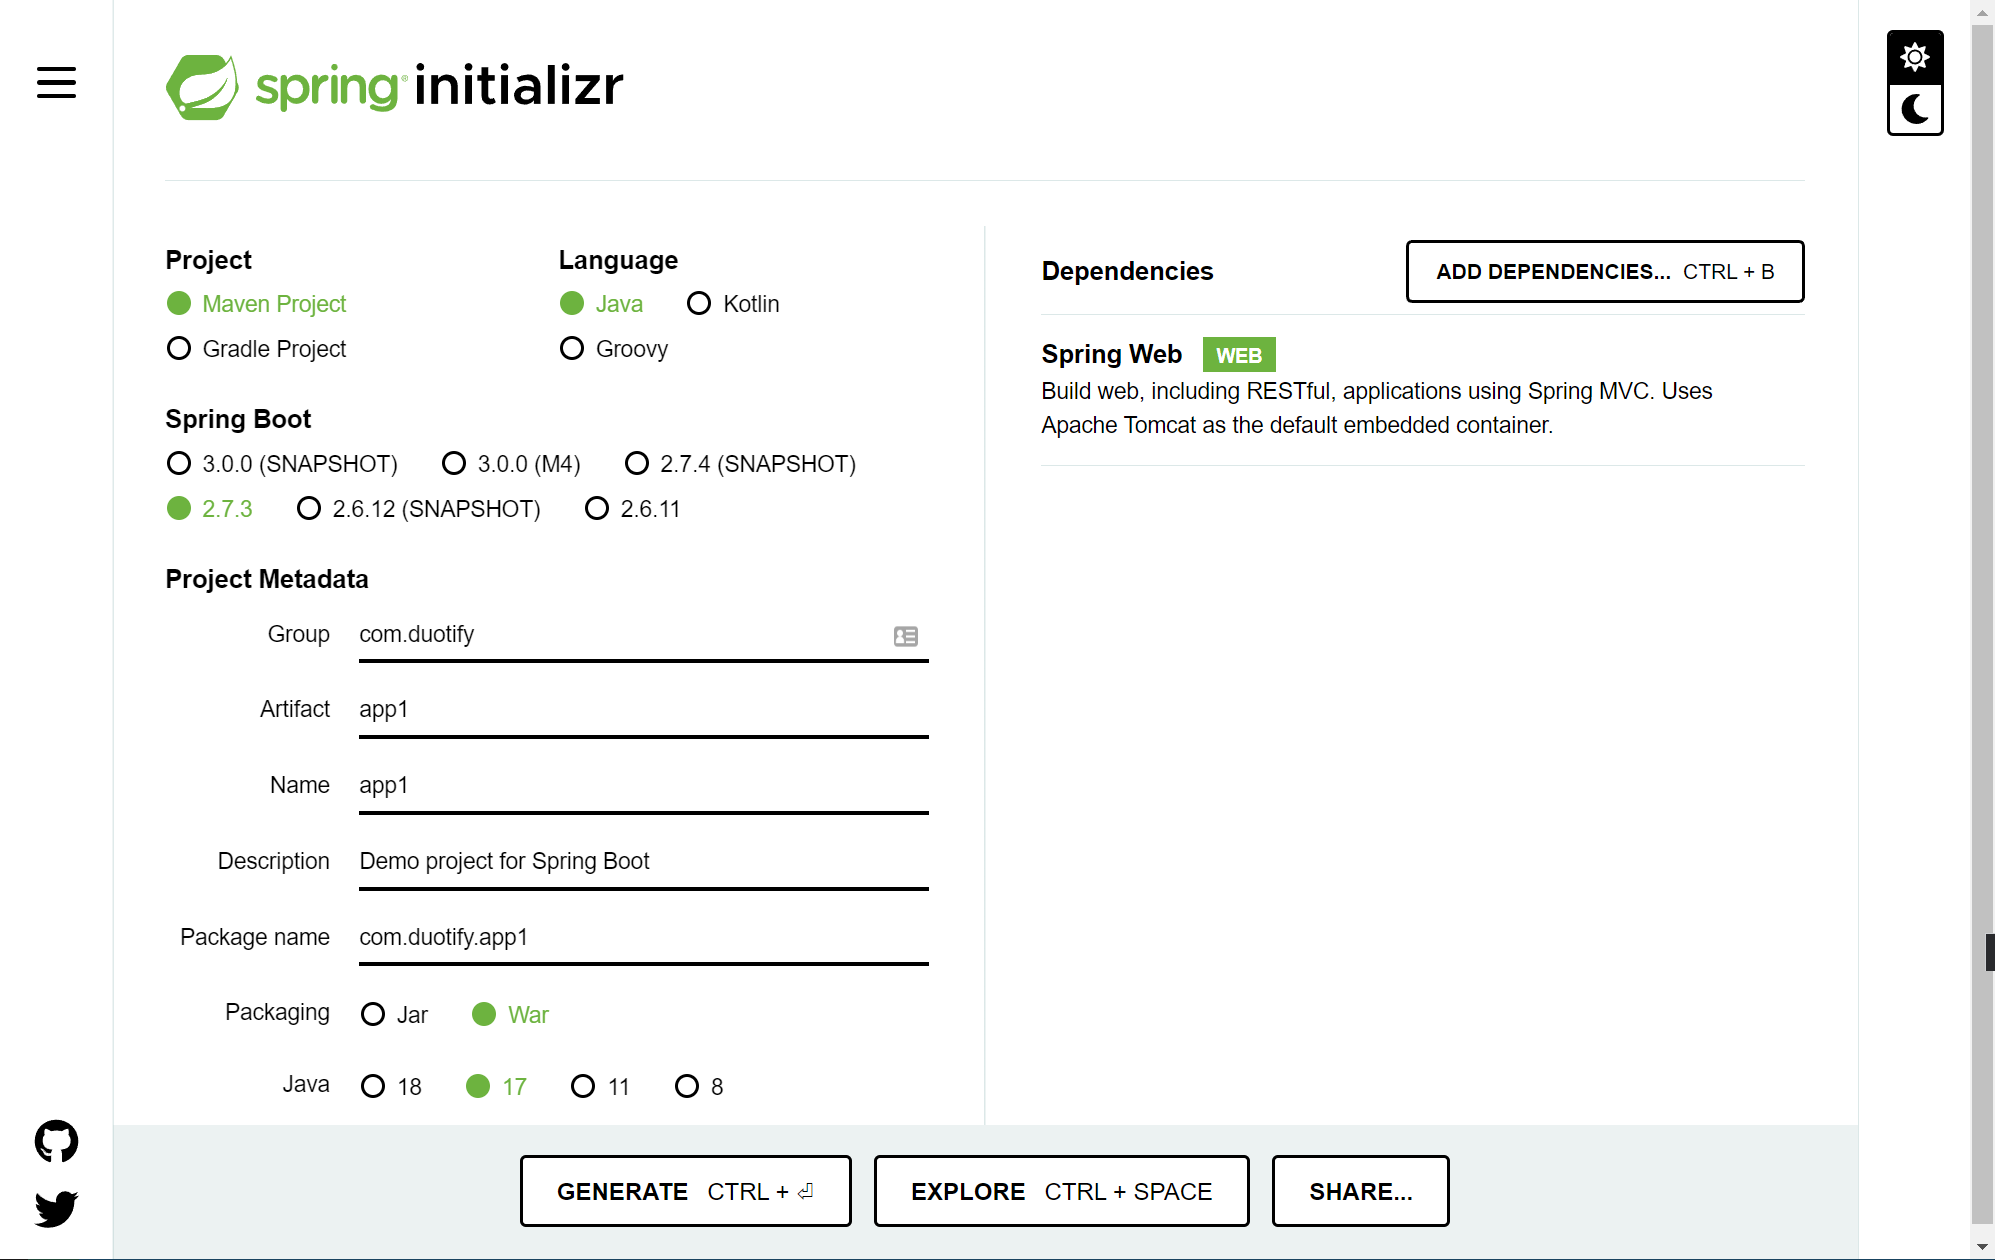
You can also create it quickly by clicking here.
-
Write a
HomeControllerand simply respond with aHello Worldstring1 2 3 4 5 6 7 8 9 10 11 12 13 14 15 16 17 18 19 20package com.duotify.app1.controllers; import org.springframework.web.bind.annotation.GetMapping; import org.springframework.web.bind.annotation.RequestMapping; import org.springframework.web.bind.annotation.RestController; /** * HomeController */ @RestController @RequestMapping("/") public class HomeController { public HomeController() { } @GetMapping public String getString() { return "Hello World"; } } -
Adjust the
src\main\resources\application.propertiesproperty file.Since
WildFly ASby default occupies Port8080, which happens to conflict with the Port8080used by the Tomcat application server built into Spring Boot. Therefore, it is recommended that you adjust theserver.portattribute to8081.1server.port=8081 -
Start Tomcat Application Server
Open your browser and request
http://localhost:8081/.At this point you should see a simple
Hello Worldline on the screen, which means Spring Boot is working properly!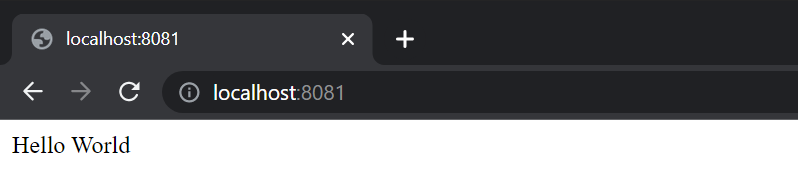
-
Initializing Git Version Control
Initialize the WildFly AS deployment-related settings
-
Create a
src/main/webapp/WEB-INF/jboss-web.xmlfile in the project.1 2 3 4<?xml version="1.0" encoding="UTF-8"?> <jboss-web xmlns="http://www.jboss.com/xml/ns/javaee" xmlns:xsi="http://www.w3.org/2001/XMLSchema-instance" xsi:schemaLocation="http://www.jboss.com/xml/ns/javaee http://www.jboss.org/j2ee/schema/jboss-web_5_1.xsd"> <context-root>/</context-root> </jboss-web> -
Exclude
ch.qos.logback:logback-classicfrom thespring-boot-starter-webdependency.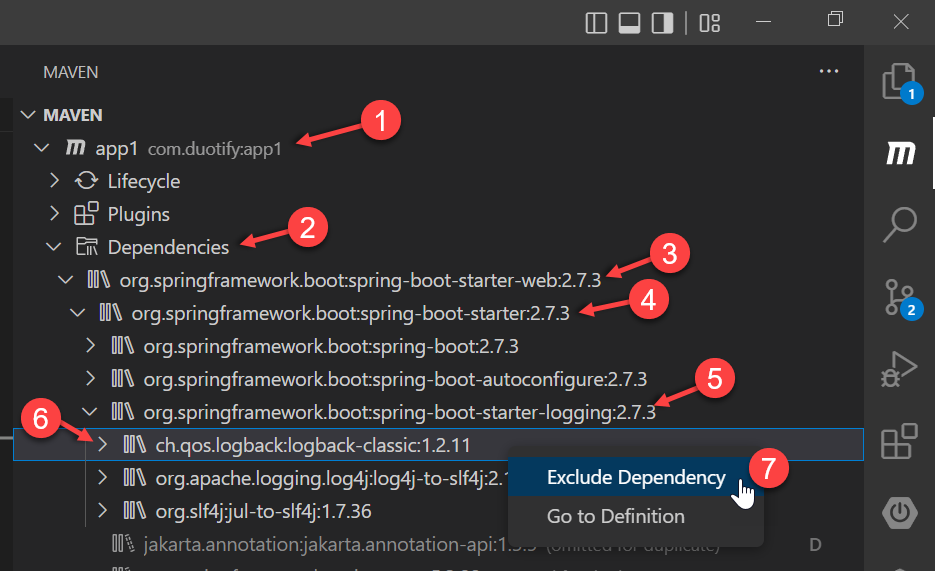
If you do not exclude
logback-classic, you will see the following error when you deploy.1 2 3{"WFLYCTL0080: Failed services" => {"jboss.deployment.unit.\"app1-0.0.1-SNAPSHOT.war\".undertow-deployment" => "java.lang.RuntimeException: java.lang.IllegalArgumentException: LoggerFactory is not a Logback LoggerContext but Logback is on the classpath. Either remove Logback or the competing implementation (class org.slf4j.impl.Slf4jLoggerFactory loaded from jar:file:/G:/wildfly-26.1.2.Final/modules/system/layers/base/org/slf4j/impl/main/slf4j-jboss-logmanager-1.1.0.Final.jar!/). If you are using WebLogic you will need to add 'org.slf4j' to prefer-application-packages in WEB-INF/weblogic.xml: org.slf4j.impl.Slf4jLoggerFactory Caused by: java.lang.RuntimeException: java.lang.IllegalArgumentException: LoggerFactory is not a Logback LoggerContext but Logback is on the classpath. Either remove Logback or the competing implementation (class org.slf4j.impl.Slf4jLoggerFactory loaded from jar:file:/G:/wildfly-26.1.2.Final/modules/system/layers/base/org/slf4j/impl/main/slf4j-jboss-logmanager-1.1.0.Final.jar!/). If you are using WebLogic you will need to add 'org.slf4j' to prefer-application-packages in WEB-INF/weblogic.xml: org.slf4j.impl.Slf4jLoggerFactory Caused by: java.lang.IllegalArgumentException: LoggerFactory is not a Logback LoggerContext but Logback is on the classpath. Either remove Logback or the competing implementation (class org.slf4j.impl.Slf4jLoggerFactory loaded from jar:file:/G:/wildfly-26.1.2.Final/modules/system/layers/base/org/slf4j/impl/main/slf4j-jboss-logmanager-1.1.0.Final.jar!/). If you are using WebLogic you will need to add 'org.slf4j' to prefer-application-packages in WEB-INF/weblogic.xml: org.slf4j.impl.Slf4jLoggerFactory"}} -
Add the
wildfly-maven-pluginplugin to the<build><plugins>section -
Packaging Applications
1mvn clean packageA
g:\app1\target\app1-0.0.1-SNAPSHOT.warpackage file will be created. -
Deploy the application
Copy
app1-0.0.1-SNAPSHOT.wardirectly to theG:\wildfly-26.1.2.Final\standalone\deploymentsfolder, and the deployment will be done automatically! -
Testing
Open your browser and request
http://127.0.0.1:8080/.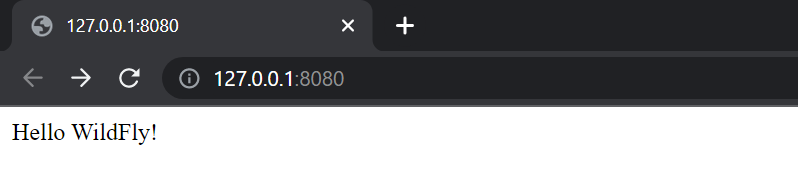
Everything is OK.
Automatically deploy applications to the WildFly application server
Set up Maven’s install lifecycle phase to automatically deploy applications to the WildFly application server.
-
First set the properties required for WildFly auto-deployment
1 2 3 4 5 6 7 8 9 10<properties> <java.version>17</java.version> <maven.test.skip>true</maven.test.skip> <deploy.wildfly.host>127.0.0.1</deploy.wildfly.host> <deploy.wildfly.port>9990</deploy.wildfly.port> <deploy.wildfly.username>wildfly</deploy.wildfly.username> <deploy.wildfly.password>wi1df1y!</deploy.wildfly.password> </properties> -
Add the
<executions>and<configurationsettings of thewildfly-maven-pluginpluginThe main purpose of
<executions>is to bind the lifecycle phaseinstallto thewildfly:deploygoal, so that the application can be automatically deployed to WildFly AS when you runmvn installin the future.1 2 3 4 5 6 7 8 9 10 11 12 13 14 15 16 17 18 19 20 21 22 23<plugin> <groupId>org.wildfly.plugins</groupId> <artifactId>wildfly-maven-plugin</artifactId> <version>3.0.2.Final</version> <executions> <execution> <phase>install</phase> <goals> <goal>deploy</goal> </goals> </execution> </executions> <configuration> <filename>${project.build.finalName}.war</filename> <hostname>${deploy.wildfly.host}</hostname> <port>${deploy.wildfly.port}</port> <username>${deploy.wildfly.username}</username> <password>${deploy.wildfly.password}</password> </configuration> </plugin> -
Automatically deploy applications to WildFly AS via Maven
1mvn clean install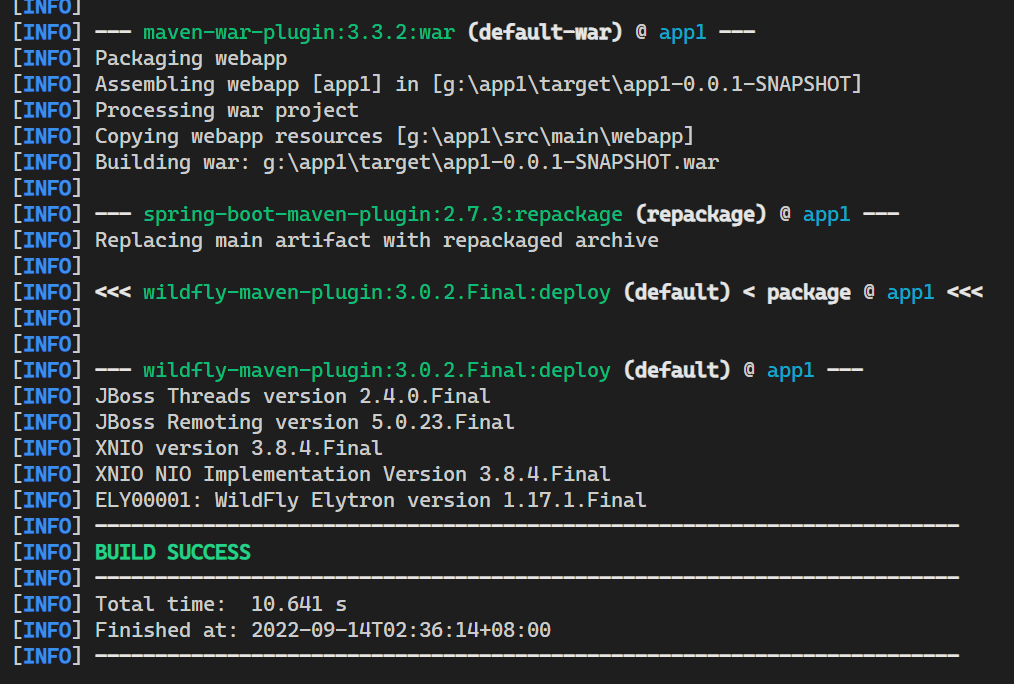
Reference https://blog.miniasp.com/post/2022/09/14/How-to-Deploy-Spring-Boot-to-WildFly-Application-Server