
Spring Boot CLI Introduction
The Spring Boot CLI is a command line tool (CLI Tool) that you can use to help you quickly develop a Spring application if you want to do so. You just need to write a Groovy script first, and then you can immediately run a Spring Boot application through the Spring Boot CLI.
Of course, you can also use the Spring Boot CLI to quickly build a Spring Boot project based on Maven or Gradle (via the Spring Initializr service).
Spring Boot CLI basic usage
After you run the sdk install springboot command through SDKMAN, you can run the spring or spring help command directly to get the basic usage instructions.
|
|
As you can see from the description, there are many subcommands that are executed through groovy script, so you can think of it as the Groovy Script launcher, except that it is mainly used to run Spring Boot applications.
-
View the available options for initializing Spring Boot commands
1spring init --listThis will display a list of all
spring initavailable parameters and their default values.1 2 3 4 5 6 7 8 9 10 11 12 13 14 15 16Parameters +-------------+------------------------------------------+------------------------------+ | Id | Description | Default value | +-------------+------------------------------------------+------------------------------+ | artifactId | project coordinates (infer archive name) | demo | | bootVersion | spring boot version | 2.7.3 | | description | project description | Demo project for Spring Boot | | groupId | project coordinates | com.example | | javaVersion | language level | 17 | | language | programming language | java | | name | project name (infer application name) | demo | | packageName | root package | com.example.demo | | packaging | project packaging | jar | | type | project type | maven-project | | version | project version | 0.0.1-SNAPSHOT | +-------------+------------------------------------------+------------------------------+ -
Create the Spring Boot application project folder
1spring init --dependencies=web,lombok my-projectThis command executes with the following message. It actually generates a project template through the https://start.spring.io website, and the above command automatically generates a
my-projectfolder. -
Create the Spring Boot application project zip file
If you want to generate a compressed file of the project template (
my-project.zip), you can do so.1spring init --dependencies=web,lombok my-project.zipBy default, running the
spring initcommand (without any arguments) will generate ademo.zipfile by default. -
Create a Spring Boot application project directory and use the Gradle Build Tool
If you want to generate a Spring Boot project that uses Gradle, specifies Java version
1.8, and is packaged withwar, you can do so.1spring init --build=gradle --java-version=1.8 --dependencies=web,lombok --packaging=war my-project2
Try building a project using the Spring Boot CLI
-
Create a Spring Boot application project directory (
demo1)1spring init --dependencies=web,lombok --groupId=com.duotify demo1This
demo1folder will have the following directory structure.1 2 3 4 5 6 7 8 9 10 11 12 13 14 15 16 17 18 19 20 21 22 23 24 25$ tree . ├── HELP.md ├── mvnw ├── mvnw.cmd ├── pom.xml └── src ├── main │ ├── java │ │ └── com │ │ └── duotify │ │ └── demo2 │ │ └── DemoApplication.java │ └── resources │ ├── application.properties │ ├── static │ └── templates └── test └── java └── com └── duotify └── demo2 └── DemoApplicationTests.java 14 directories, 7 files -
Open the
demo1folder with Visual Studio Code1code demo1If you are opening VS Code for the first time, please install the Essential Java Spring Boot Snippets extension.
-
Add default homepage
First find the application entry point, which is the class with the annotation
@SpringBootApplication.1src/main/java/com/duotify/demo1/DemoApplication.javaThe original code looks like this.
1 2 3 4 5 6 7 8 9 10 11 12 13package com.duotify.demo1; import org.springframework.boot.SpringApplication; import org.springframework.boot.autoconfigure.SpringBootApplication; @SpringBootApplication public class DemoApplication { public static void main(String[] args) { SpringApplication.run(DemoApplication.class, args); } }Here
@SpringBootApplicationis a collection annotation, which also means that the three Annotations@Configuration,@EnableAutoConfigurationand@ComponentScanare also annotated, soDemoApplicationitself is an auto-configuration class.Just annotate another
@RestControllerin theDemoApplicationclass and add ahome()method, annotate@GetMapping("/")and you have a default home page! 👍1 2 3 4 5 6 7 8 9 10 11 12 13 14 15 16 17 18 19 20 21package com.duotify.demo1; import org.springframework.boot.SpringApplication; import org.springframework.boot.autoconfigure.SpringBootApplication; import org.springframework.web.bind.annotation.GetMapping; import org.springframework.web.bind.annotation.RestController; @SpringBootApplication @RestController public class DemoApplication { @GetMapping("/") public String home() { return "Hello World"; } public static void main(String[] args) { SpringApplication.run(DemoApplication.class, args); } } -
Launch Project
You can launch the project directly from VS Code by pressing the
F5function key.If you want to run it in Terminal, you can enter the following command.
1mvn spring-boot:runNote: You don’t need to install
spring-bootMaven Plugin to run the command, it will automatically download thespring-bootplugin and run therunGoal inside.Open your browser and request
http://localhost:8080/to see the home page.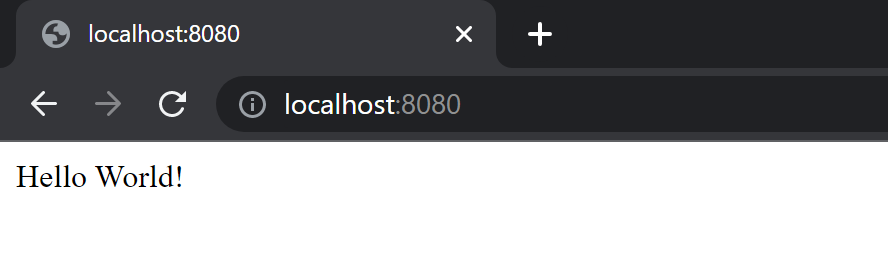
Try running the Groovy script using the Spring Boot CLI
-
Create a
hello.groovyscriptThe following commands are run under the Bash environment.
-
Run the
hello.groovyscript directly1spring run hello.groovy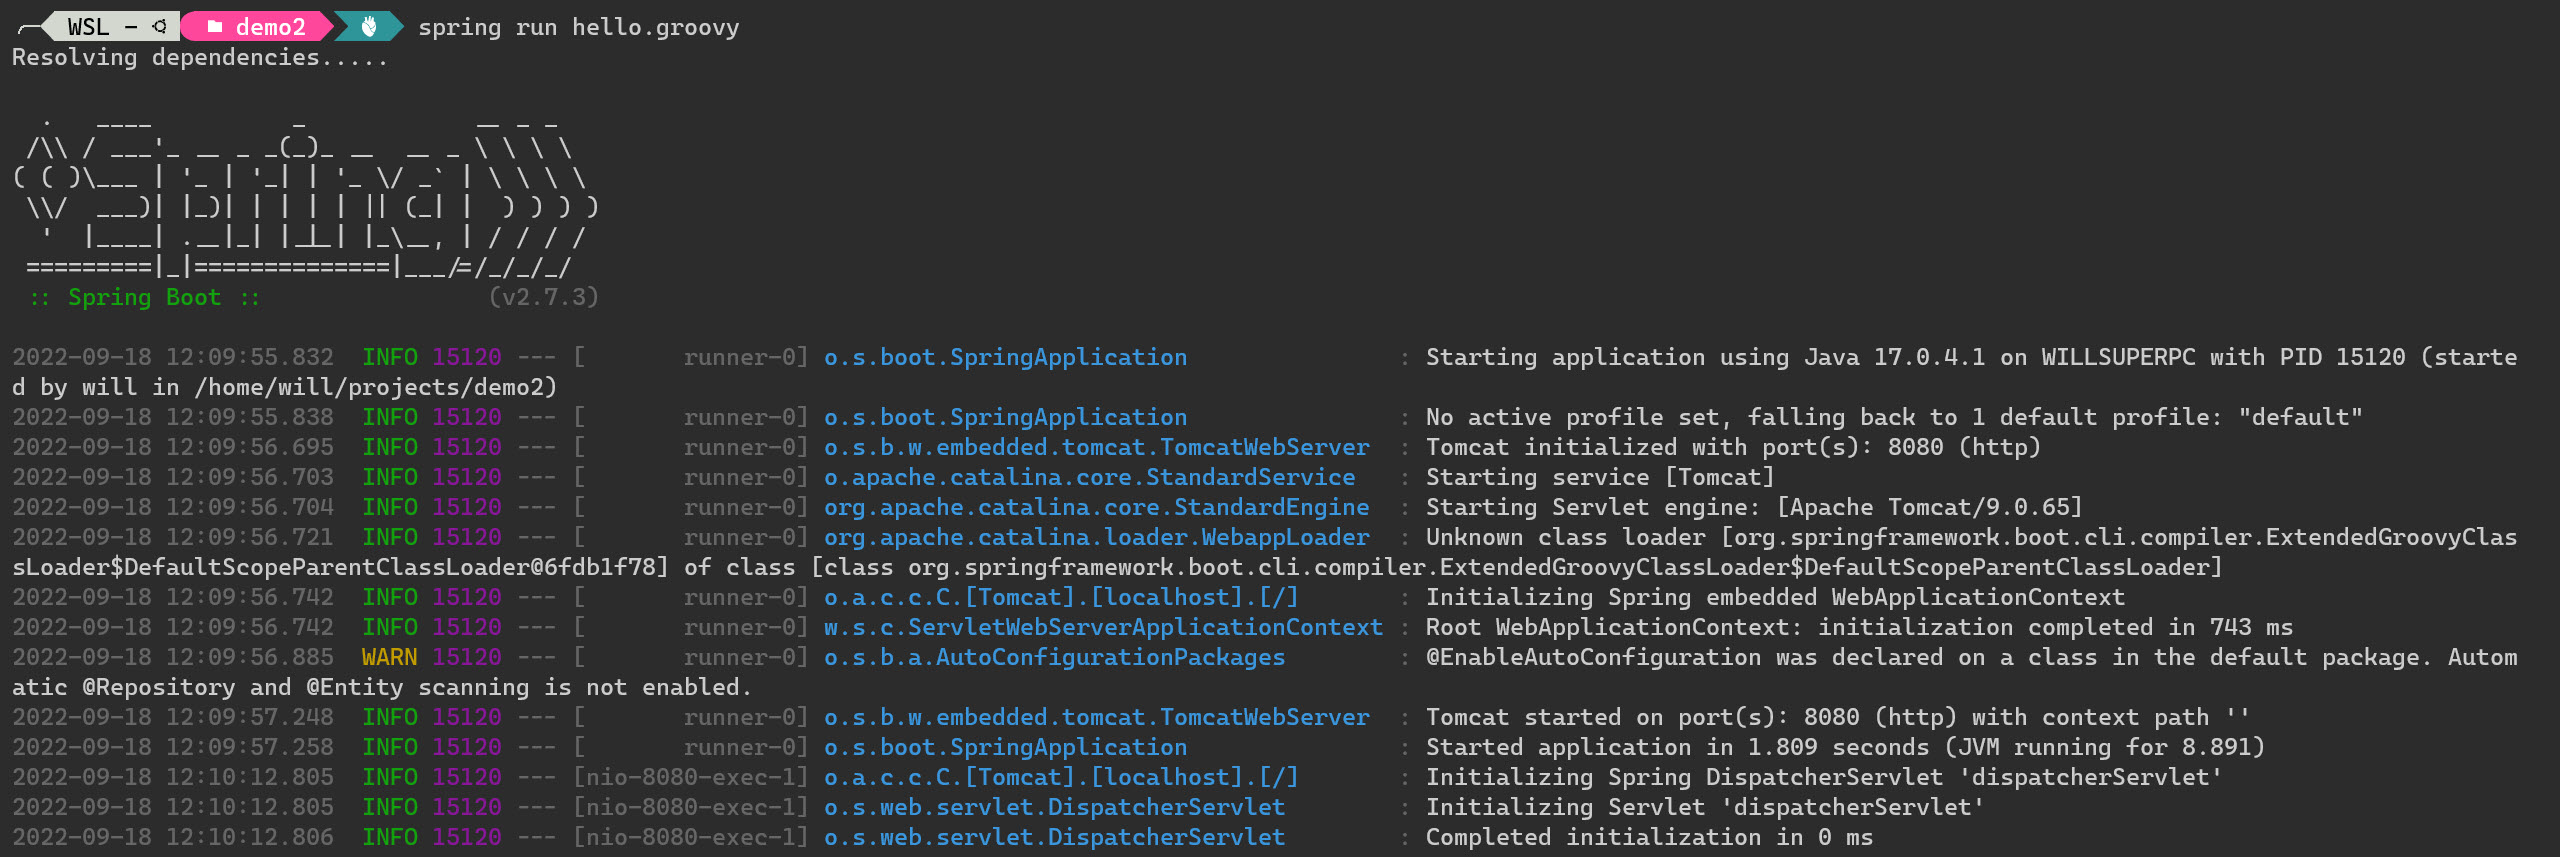
Request
http://localhost:8080/through your browser to see the website!
In fact, you can also fine-tune the application, for example, if you don’t want to run the application at Port
8080, use the command Port9000instead as follows.1spring run hello.groovy -- --server.port=9000Remember to separate the parameters with
--in between.If you want to pass in additional JVM parameters, you can do so with the
JAVA_OPTSenvironment variable, e.g.1JAVA_OPTS=-Xmx1024m spring run hello.groovyNote: The
JAVA_OPTS=-Xmx1024menvironment variable here will only be applied to this command line.When you think about it, this is too cool, the whole Spring Boot site, just one file can run! 👍
If you have more than one API to run, you can write multiple
*.groovyfiles, e.g. -
Create a
test.groovyscriptThe following commands are run under the Bash environment.
-
Run all scripts directly through the
shell globbingsyntax (*.groovy).1spring run *.groovyOpen your browser and visit
http://localhost:8080/andhttp://localhost:8080/testto see the expected results.
Can we package the application as a JAR file? Yes, you can!
-
package
*.groovyasdemo2.jarfile1spring jar demo2.jar *.groovy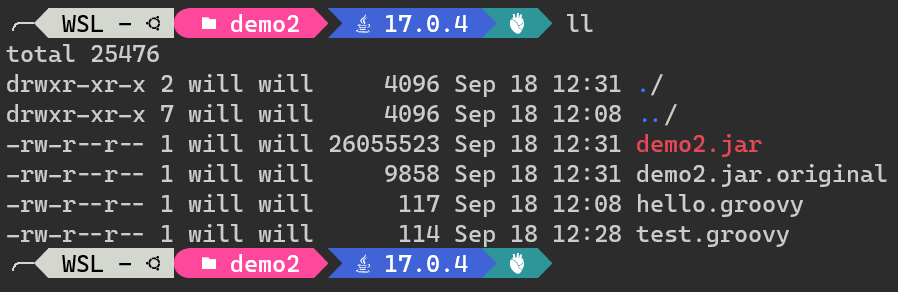
Here
demo2.jar.originalis your original application content, whiledemo2.jarcontains Tomcat’s library, so the file is much larger.Note: When using the
spring jarpackage, thepublic/**, resources/**, static/**, templates/**, META-INF/**, *files and paths are included by default, and the. *, repository/**, build/**, target/**, **/*.jar, **/*.groovyfiles and paths are excluded by default. You can also add or exclude more files to the JAR file by yourself with--includeor--exclude. -
Run the JAR file
1java -jar demo2.jar
How does Groovy use third-party packages?
Although Groovy is a dynamic scripting language based on Java, it still runs under the JVM, so how can the code needed for Java disappear? What about the promised import? What about the promised classPath? And where are the dependencies that Spring Boot needs (e.g. spring-boot-starter-web, spring-boot-starter-data-jpa, … and so on) where did they go?
In the standard Groovy language there is a @Grab annotation that allows you to declare dependencies on third-party libraries, so that Groovy can automatically download JARs files like Maven or Gradle, but without the need for any build tools.
Spring Boot uses this technique to automatically Grab the library or package you need directly from the code you write. For example, our hello.groovy script just now uses the @RestController annotation on the WebApplication category, so it automatically grabs the Tomcat and Spring MVC packages back, isn’t that cool! 😍
The official Spring Boot CLI file has some mapping tables so you know which programs you write and which packages are automatically downloaded.
| Items | Grabs |
|---|---|
| JdbcTemplate, NamedParameterJdbcTemplate, DataSource | JDBC Application. |
| @EnableJms | JMS Application. |
| @EnableCaching | Caching abstraction. |
| @Test | JUnit. |
| @EnableRabbit | RabbitMQ. |
| extends Specification | Spock test. |
| @EnableBatchProcessing | Spring Batch. |
| @MessageEndpoint @EnableIntegration | Spring Integration. |
| @Controller @RestController @EnableWebMvc | Spring MVC + Embedded Tomcat. |
| @EnableWebSecurity | Spring Security. |
| @EnableTransactionManagement | Spring Transaction Management. |
You can find out how it works by going to the Spring Boot CLI source code project and finding all the CompilerAutoConfiguration subclasses.
In addition to these built-in dependency packages that are automatically grabbed, you can declare which packages you need to use in Spring Boot via the @Grab('freemarker') syntax, without specifying information such as group or version, for a complete list of short names see the Dependency Coordinates file.
You can use the
spring grab *.groovycommand to automatically download all the dependent packages used in the code to the. /repositorydirectory.
When writing Spring Boot in Groovy, you don’t need to write import syntax in most cases. For example, @Component, @RestController and @RequestMapping markups do not need to be imported explicitly, so the code is very clean and fresh! 👍
Finally, when you write Spring Boot with Groovy, you don’t have to write special startup classes and public static void main(String[] args) methods, you don’t even have to create the SpringApplication entity, the Spring Boot CLI will automatically create it for you with the source code. Isn’t that great! 👍
Conclusion
I hadn’t thought about using Apache Groovy to write Spring Boot applications before, and I’ve rarely heard of anyone doing so, but after studying the Spring Boot CLI, I think Groovy is a good idea, because the entire directory structure and code are very clean, and the underlying JVM architecture is the same, so it’s compatible with any existing Java dependencies. package are compatible. There are no performance problems, and the automated deployment and packaging are normal.
But Apache Groovy is a new programming language after all, with its own language features and syntax somewhat different from Java, although the learning threshold is not very high, but different is different, to promote it should not be too easy.
Reference https://blog.miniasp.com/post/2022/09/18/Developing-Spring-Boot-with-Spring-Boot-CLI